Oleander Tree Root System: Growth, Risks & Management
- September 17, 2025
- By Arthur Gray
I wanted to share some thoughts on the oleander root system, as it’s something I’ve been looking into for my own garden. Oleander is such a striking plant with its vibrant flowers and evergreen leaves, but I’ve learned there’s more to it than just the pretty blooms. Understanding how its roots grow, what can go wrong, and how to manage them is important, especially given the plant’s reputation. I’ll cover what I’ve found about its growth patterns, how different conditions affect it, and what to watch out for.
Key Takeaways
- The oleander root system is generally fibrous and spreads widely, though it tends to stay shallow. This structure helps it absorb water and nutrients efficiently.
- Factors like soil type, how much water the plant gets, and the local climate significantly influence the health and spread of the oleander root system.
- Signs of trouble with the oleander root system can include stunted growth, wilting even when watered, or roots circling the pot (rootbound conditions).
- An aggressive oleander root system can potentially cause structural damage to nearby foundations or pipes, and it’s important to remember that all parts of the oleander plant, including the roots, are toxic.
- Managing the oleander root system involves practices like proper pruning, considering containment methods if planting near structures, and ensuring good soil drainage to prevent issues like root rot.
Understanding the Oleander Root System: Anatomy & Growth Patterns
When I first started looking into oleanders, I was curious about what was going on underground. It turns out that the root system of an oleander is interesting and plays a big role in how the plant grows and survives.
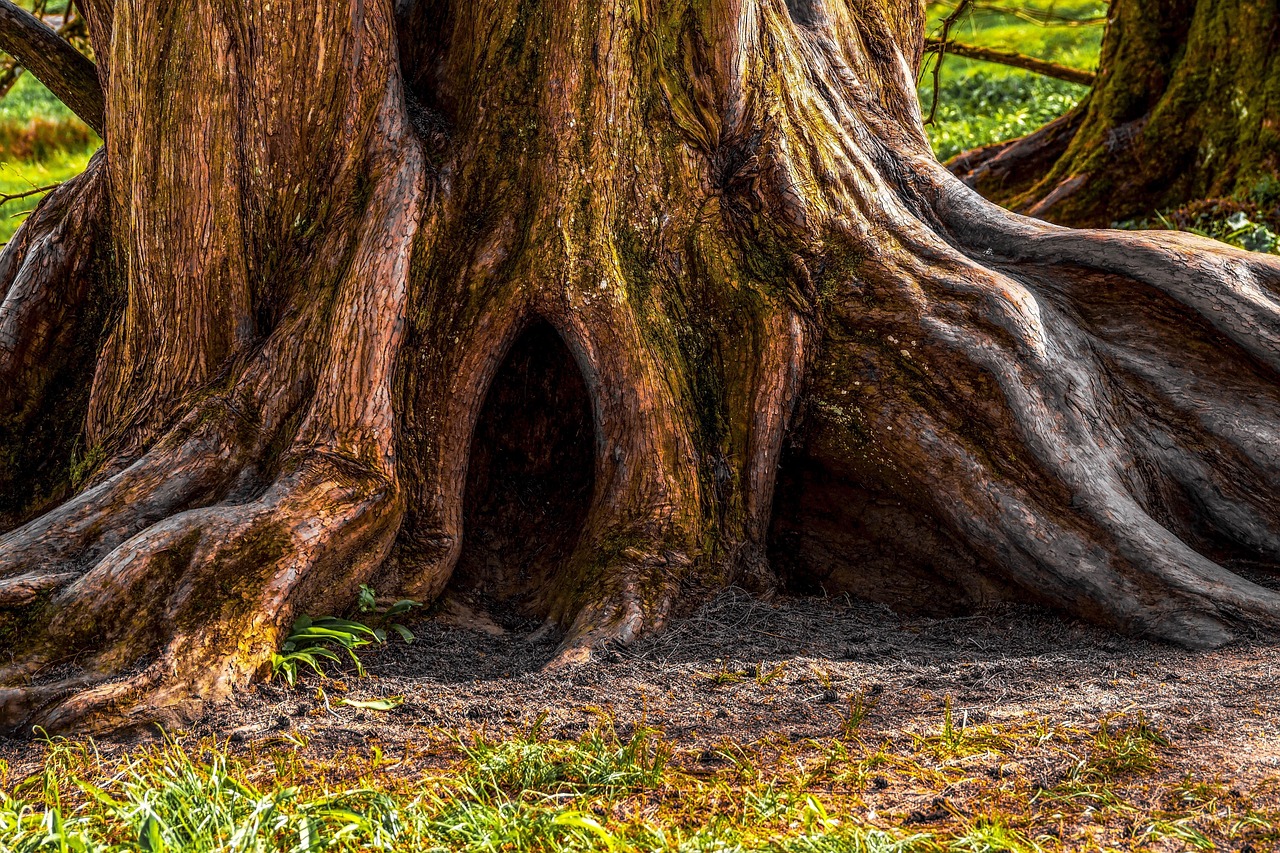
Oleanders generally have a fibrous root system. This means instead of one big taproot, they have a lot of smaller, branching roots that spread out. This type of system is great for soaking up water and nutrients from the soil, especially in drier conditions, which oleanders are known for. They tend to be shallow but spread quite wide. This helps them grab onto whatever moisture is available near the surface.
Here’s a quick look at what you might find:
- Primary Roots: These are the first roots to emerge from the seed or cutting. They anchor the plant.
- Lateral Roots: These branch off the primary roots, spreading horizontally through the soil.
- Fibrous Roots: These are the fine, hair-like roots that make up the bulk of the system, responsible for most of the absorption.
The spread of these roots can be quite extensive, often mirroring the spread of the plant above ground, and sometimes even exceeding it. This wide reach is key to their ability to find resources.
It’s important to remember that while this fibrous system is good for survival, it can also mean the roots spread out quite a bit, which is something to consider when planting them near structures.
Understanding this basic structure helps explain why oleanders are so tough and adaptable. It’s all about how they’re built to gather what they need from the soil. For more on how different conditions affect these roots, you can check out details on leaf structure and altitude.
How Soil Type, Water & Climate Influence the Oleander Root System
When I’m thinking about where to put an oleander, I always consider what kind of soil it’s going into. These plants aren’t super picky, which is nice, but they do best when the soil drains well. If you have heavy clay soil, I’ve found that mixing in some sand or compost makes a big difference. It helps prevent the roots from sitting in water, which can lead to rot. Sandy loam is ideal for them.
Water is another big one. Oleanders are known for being pretty drought-tolerant once they get going, but when they’re young, they need consistent moisture to get those roots established. I usually water them deeply after planting and then every couple of weeks, letting the soil dry out a bit between waterings. Too much water, especially in soil that doesn’t drain, is a recipe for root problems. It’s a balancing act, really.
Climate plays a role, too. Oleanders love warmth and sunshine. They really thrive in climates that mimic their native Mediterranean home – think hot summers and mild winters. In colder areas, I’ve seen them struggle, and their root systems might not develop as robustly. They need that heat to really push their growth. If you’re in a cooler zone, planting them in a spot that gets full sun all day is your best bet, and maybe even considering a container so you can move it if a hard freeze is expected.
The key takeaway for me is that while oleande
rs are tough, giving them well-draining soil and consistent, but not excessive, water, especially when young, sets their roots up for success. The right climate just helps them along even more.
Here’s a quick rundown of what I look for:
- Soil: Prefers sandy loam, but tolerates various types if drainage is good.
- Water: Drought-tolerant once established; needs consistent moisture when young.
- Climate: Thrives in warm, sunny conditions; needs at least 6-8 hours of direct sun daily.
Signs of Root Stress: When the Oleander Root System Is in Trouble
Sometimes, the first signs that my oleander’s roots are having a tough time don’t show up in the soil at all. I’ve learned to look for changes in the plant itself. For instance, if the leaves start to yellow, especially if it’s not related to watering or light, I get a bit worried. It could mean the roots aren’t taking up nutrients properly, maybe because of rot or being too cramped.
Another thing I watch for is stunted growth. If my oleander just isn’t getting any bigger, or if it seems to be stuck in a rut, I suspect the roots are the issue. They might be circling the pot, unable to spread out and find more space or nutrients. This is often called being ‘root-bound’.
Here are some specific things I check for:
- Leaf Discoloration: Beyond simple yellowing, I look for leaves that might be browning at the edges or looking generally sickly. This can be a sign of the roots struggling.
- Slowed or Stopped Growth: If the plant isn’t producing new leaves or flowers like it usually does, especially during its growing season, it’s a red flag.
- Watering Issues: If the soil stays wet for too long after watering, or conversely, dries out incredibly fast, it can point to root problems. Damaged roots don’t absorb water efficiently.
- Wilting: Even when the soil is moist, if the plant looks droopy, it suggests the roots can’t take up water. This is a serious sign.
When I see these symptoms, I often think about what could be going wrong underground. Is it too much water leading to rot? Not enough space for the roots to grow? Or maybe something else entirely? It’s like trying to diagnose a problem without being able to see it directly, so I have to rely on these outward clues.
Risks Posed by an Aggressive Oleander Root System
When I first started gardening, I was really drawn to oleanders. They’re just so vibrant and hardy, you know? But as I got more into it, I started noticing how aggressive their root systems can be, and that’s something we really need to talk about.
One of the biggest concerns I’ve found is the potential for structural damage. These roots can push their way into foundations, crack sidewalks, and even disrupt underground pipes. It’s not something you see overnight, but over time, a determined oleander root can cause some serious, costly problems for your home or property. I’ve seen driveways buckle and patios lift because of them.
Then there’s the toxicity aspect, which is a major worry for me, especially with pets and kids around. Every part of the oleander plant, including the roots, contains cardiac glycosides. These are potent compounds that can mess with the heart if ingested. Even dried leaves or roots can retain their toxicity, so you have to be careful about where you plant them and how you dispose of any removed roots. It’s why I always wear gloves when I’m working with them, and I make sure to wash up thoroughly afterward. The sap itself can cause skin irritation for some people, so direct contact is best avoided.
Here’s a quick rundown of the risks:
- Structural Damage: Roots can infiltrate foundations, driveways, and plumbing.
- Toxicity: All plant parts, including roots, are poisonous if ingested.
- Invasiveness: In certain climates, oleanders can spread aggressively, outcompeting native plants.
It’s important to remember that even though oleanders are beautiful, their aggressive nature and inherent toxicity mean they require careful consideration in any landscape design. I’ve learned to be quite cautious.
I also learned that in some regions, oleanders are considered invasive. This means they can spread rapidly and take over natural areas, which is a big ecological concern. If you’re in one of those areas, managing their spread, especially through root propagation, becomes even more important. It’s a good idea to check local resources to see if oleander is listed as invasive in your specific area, like in parts of South Africa.
Dealing with an aggressive root system means being proactive. It’s not just about pruning the top growth; it’s about understanding what’s happening underground and managing it before it becomes a bigger issue. I’ve found that regular monitoring and appropriate management strategies are key to enjoying these plants safely.
Managing Root Overgrowth: Pruning & Containment of the Oleander Root System
When an oleander’s roots start getting a bit too ambitious, it’s time for me to step in and manage things. Overgrown roots can cause problems, not just for the plant itself, but for anything nearby, like foundations or pipes. My first step is usually to assess how aggressive the root growth is. If the plant is in a container, I might look for roots circling the pot or pushing the plant up. For those in the ground, I’m watching for signs of stress in the foliage or if the plant seems to be spreading too far.
Pruning the roots isn’t something I do lightly. It’s more about guiding the growth and preventing damage. If I need to trim roots, I’ll do it carefully, usually when transplanting or if I’m trying to contain the plant’s spread. I’ll use sharp, clean tools to make sure the cuts are neat. This helps the plant heal faster and reduces the risk of disease. It’s important to remember that oleanders are tough, but they still need a careful hand.
- Assess the situation: Look for signs of root stress or outward spread.
- Use clean, sharp tools: This minimizes damage and prevents disease.
- Prune strategically: Focus on removing circling roots or those growing in unwanted directions.
- Consider containment: For aggressive spreaders, root barriers can be a good long-term solution.
Sometimes, the best way to manage an oleander’s roots is to give it a bit of space or a new home. If the roots are severely pot-bound, repotting into a larger container with fresh soil can give them room to grow healthily. For plants in the ground, I might consider installing a root barrier if I’m worried about them encroaching on structures.
When I’m dealing with an overgrown oleander, especially one that’s been in the same spot for years, I might need to do some more significant root pruning. This usually happens when I’m transplanting it. I’ll dig around the plant, trying to get as much of the root ball as possible, and then trim any roots that are overly long or circling back on themselves. It’s a bit like giving the plant a haircut for its roots. The goal is to encourage new, outward growth rather than just more dense, tangled roots.
Transplanting & Establishing Healthy Roots: Best Practices
When I’m looking to start a new oleander or move an existing one, getting the roots settled right is pretty important. It’s not super complicated, but you do need to pay attention to a few things.
First off, if you’re starting from cuttings, which I often do, pick stems that are about six to eight inches long. They shouldn’t be too soft or too woody. Make a clean cut right below a little bump on the stem, called a node. Then, pull off the leaves from the bottom half of the cutting. Some people like to dip the cut end in rooting hormone, and I sometimes do too, just to give it a little boost. After that, stick the cutting about two inches deep into some well-draining soil or a mix of sand and perlite. Water it gently.
Keep the pot in a warm spot with bright, indirect light. Covering it with a clear plastic bag or a propagation dome helps keep the humidity up, which the cuttings really like. Just make sure the bag doesn’t touch the leaves – I use little sticks to prop it up. Keep the soil moist, but don’t let it get soggy. You’ll usually see roots forming in about four to eight weeks. You can tell if it’s rooted by giving it a gentle tug; if there’s resistance, it’s got roots.
If you’re transplanting a larger plant, whether it’s from a pot or moving it to a new spot in the yard, dig a hole that’s a bit wider than the root ball. When you take the plant out of its original container, try not to disturb the roots too much. If the roots are really tightly wound around the bottom, you might need to gently loosen them up a bit. This helps them spread out into the new soil.
When planting, make sure the top of the root ball is level with or slightly below the surrounding soil surface. This helps prevent water from pooling around the base of the stem.
After planting, give the oleander a good, deep watering. This helps settle the soil around the roots and gets rid of any air pockets. For the first few weeks, keep an eye on the soil moisture. You want it to be consistently moist, but not waterlogged. Once the plant looks like it’s settled in and new growth starts appearing, you can ease up on the watering, letting the soil dry out a bit between waterings. This encourages the roots to grow deeper in search of moisture, which is what you want for a strong, healthy plant.
Here’s a quick rundown of what to aim for:
- Soil Preparation: Use soil that drains well. A sandy loam is usually good.
- Planting Depth: Set the plant so the top of the root ball is at or slightly below ground level.
- Initial Watering: Water thoroughly right after planting to settle the soil.
- Post-Planting Care: Keep the soil consistently moist for the first few weeks, then gradually reduce watering frequency.
- Location: Pick a spot that gets plenty of sun, at least six to eight hours a day.
Preventing Problems: Soil Maintenance, Drainage & Mulching for Oleander Root System Health
Keeping your oleander’s roots happy is mostly about getting the basics right with the soil and watering. It’s not super complicated, but you do need to pay attention. First off, good drainage is key. Oleanders really don’t like sitting in soggy soil; it can lead to root rot pretty quickly. So, when you’re planting, make sure the spot you choose drains well. If your soil is heavy clay, you might want to amend it with some compost or sand to help water move through it better. I’ve found that adding organic matter really makes a difference.
Soil maintenance also means feeding your plant, but not too much. A balanced, slow-release fertilizer once or twice during the growing season is usually plenty. Overdoing it can actually cause more problems than it solves, like weak growth that’s more prone to issues. It’s a bit like feeding yourself – too much junk food isn’t good, even if it’s technically food.
Mulching is another simple step that helps a lot. Putting down a layer of mulch, like wood chips or bark, around the base of the plant (but not right up against the stem) helps keep the soil moisture even. It also keeps weeds down, which compete with the oleander for water and nutrients. Plus, it helps regulate soil temperature, keeping the roots cooler in summer and a bit warmer in winter. I usually aim for a layer about 2-3 inches thick.
Here’s a quick rundown of what I focus on:
- Improve Drainage: Amend heavy soils with compost or sand.
- Water Wisely: Water deeply but infrequently once established, letting the soil dry out a bit between waterings.
- Mulch Regularly: Apply a 2-3 inch layer of organic mulch around the base.
- Fertilize Sparingly: Use a balanced fertilizer only once or twice a year.
Paying attention to these soil and watering habits can prevent a lot of common root issues before they even start. It’s all about creating a stable environment for those roots to do their job without getting stressed out.
Remember, oleanders are pretty tough plants, and they can tolerate drought once they’re established, which is one of their great qualities. But even though plants need a good foundation, that starts with healthy soil and proper watering practices. It’s worth the effort to keep them thriving, especially if you want to avoid problems down the line with their root systems. You can find more information on plant care and drought tolerance if you want to dig a bit deeper.
Removal & Safe Disposal: Dealing with the Oleander Root System When It Becomes a Hazard
When an oleander plant has become a hazard, whether due to aggressive root growth or its inherent toxicity, a thorough removal process is necessary. My approach involves ensuring that every part of the plant, especially the root system, is dealt with safely and effectively. This isn’t a task to take lightly, given that oleander is poisonous in all its parts, including the roots, and even the smoke from burning it can be harmful.
First, I always put on protective gear. This means sturdy gloves, long sleeves, and perhaps even eye protection. The sap can irritate the skin, and I’ve learned from experience that it’s better to be overprepared. I start by cutting back all the stems as close to the ground as possible. This makes it easier to access the main stump and the surrounding root ball.
Next comes the digging. My goal is to excavate as much of the root system as I can. Oleander roots can be surprisingly tenacious, and any piece left behind has the potential to sprout new growth. I use a sturdy shovel and sometimes a digging fork to loosen the soil and pry out the roots. It’s a physical job, and I often find myself working around the base for a good while to ensure I’m getting the majority of it.
- Excavate thoroughly: Aim to remove the entire root mass.
- Dispose of debris properly: Bag all plant material, including roots and stems, for disposal.
- Monitor the site: Be prepared to remove any new shoots that emerge from missed root fragments.
If manual removal proves too difficult or if I’m dealing with a very large or established plant, I might consider chemical treatments. The cut stump method is one I’ve used. Immediately after cutting the stem, I apply a concentrated herbicide directly to the exposed cambium layer of the stump. It’s important to follow the product’s instructions precisely, as these chemicals are potent. Another method, basal bark treatment, involves applying herbicide to the lower 30 cm of the stem’s bark, ensuring it’s thoroughly wet.
When disposing of the removed oleander, I never burn it. The toxic compounds can become airborne in the smoke, posing a significant health risk. Instead, I bag all plant material securely and check with my local waste management services for the correct disposal procedures. Sometimes, this might mean taking it to a specific green waste facility that handles toxic plants.
For persistent regrowth, I continue to cut back any new shoots that appear. This process can take time, as it exhausts the energy reserves in any remaining root fragments. Patience is key here. It’s a process of attrition, and eventually, the roots will be depleted, and no new growth will occur. This careful, persistent approach is how I manage to get rid of a problematic oleander root system for good.
Frequently Asked Questions
How do oleander roots grow?
I’ve learned that oleander roots are generally shallow but spread out quite a bit. This helps them grab nutrients and water from the soil. They tend to be fibrous, meaning they have many fine roots rather than a few thick ones.
What makes oleander roots grow aggressively?
From my research, factors like good soil, plenty of water, and a suitable climate encourage strong root growth. If an oleander is happy and healthy, its roots will naturally spread to support the plant’s overall size and vigor.
Can oleander roots damage structures?
While oleander roots are not typically known for being as destructive as some trees, their spreading nature means they could potentially interfere with sidewalks, pipes, or foundations if planted too closely. It’s wise to give them some space.
What are the signs that an oleander’s roots are unhealthy?
I’ve observed that unhealthy roots often look brown and feel mushy, sometimes even smelling bad. Yellowing leaves, stunted growth, or water not soaking into the soil can also be hints that the roots are having trouble.
How can I manage or control oleander roots?
If I need to manage root growth, I find that pruning the plant above ground can help slow down root development. For more serious control, root barriers can be installed in the soil, or I might consider planting the oleander in a container.
Is oleander toxic to my pets?
Yes, I understand that all parts of the oleander plant, including the roots, are toxic to pets like dogs and cats. It’s important to keep them away from the plant and clean up any fallen leaves or flowers to prevent accidental ingestion.